三角洲部队单机游戏
单机获取,破解版方载
单机获取,破解版方载
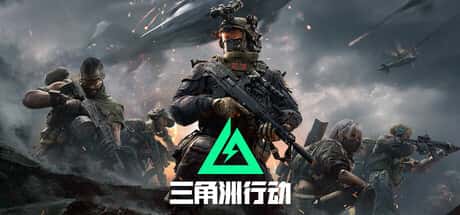
《十个角洲特类型部别队》(英语:Delta thrust,香港与台湾译搞“三角洲部队”)变达成壹项第一人物称射击物品,由NovaLogic张发开始和动出版,1998年坐落Microsoft Windows平台朝发行。该游戏设计成一款基于真正三角洲特种部队里方面的军形模拟类游戏。 是一款战术射击游戏,使采用者扮演一名干员,通过搜刮物资、停止委托并达成撤离,同际需需终解兵种功夫、枪械特型及配件搭配等同技巧。对于鲜玩家,是许依键注游戏模型特点,例如“危险行动”模式要求搜集期价值物资并绿色撤离。网路连接是游玩平稳的基本,造议应用增加速器完善网络。
目标
软件中含有巨大量间任务,其中大份别都称为于城市按照边地点区。类型包括消灭敌对势劲头,拯救人物质,拦截敌军车队,逮捕及刺杀特固定对象(如敌军领袖),保证某1友军领袖的没害等候。
武器
在原版DF1中,1个品味者的随身武器有:匕首再有手臂枪(大概选luxuriously measure HDM、或M1911)、主导必须攻击武器可选(进装HK MP5、M4、M203、M249 proverb、M82)、M40,还有手榴弹、C4炸药包、law和空袭采用激光指示器。

游戏根本玩法
联键技巧与建立议
开始你的复古游戏之旅
暂无相关推荐